


This guide shows you how to assemble a standard drawer for your wardrobe.
Please refer to the video above for a more visual guide.
You can click on any of the images in this guide to enlarge them.
Before you begin
Included hardware

4x 16mm Screws

1x 45mm Screw

Drawer Front Brackets

Drawer Sides
You should also have a drawer front, drawer base and drawer back.
Recommended tools

Screwdriver

Hammer

Impact Driver

Drill with 5mm Drill Bit
Please note
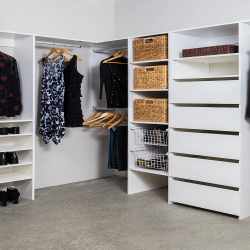
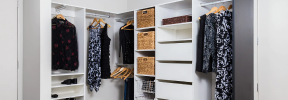
The wardrobe shown in this guide is an example and your project may differ.
Whilst we supply all the screws needed for assembling your wardrobe towers, we don’t supply the screws needed for installation as these vary per project.
-
Install drawer front brackets
Push the drawer brackets into the pre-drilled holes on the drawer front.

Tip: The side of the bracket that shows the screws and letter should be facing outwards.
-
Knock brackets in
Use a screwdriver and hammer to gently knock brackets fully into position.

-
Install drawer sides
Position metal drawer sides on top of the drawer front brackets then tighten screws to secure.

Note: The side should sit flush with the drawer front once tightened, you may need to loosen the screw initially to allow for the side to click into place.
-
Install drawer base
Line up the 4 holes on the drawer base with the mounting lugs on the metal sides then tap the base firmly into place.

-
Install drawer back
Slide the drawer back into place between the metal sides.

-
Secure back to sides
Install 4x 16mm screws through the holes on the back of the metal sides into the drawer back.

Note: There should be 2x 16mm screws on each side of the back.
-
Secure base to back
Install 1x 45mm screw through the pre-drilled hole on the bottom of the drawer base to fix to the drawer back.


Need a hand?
We’re always here to help!
Send us an email to info@cabjaks.co.nz or phone us on 09 274 6488 and we’ll point you in the right direction.