


Working With Corners — Tips & Tricks
Corners can make or break a layout. Use these practical rules to keep corners functional, avoid clearance issues, and make your plan look clean and intentional.
You can click on any of the images in this guide to enlarge them.
-
Start with your corner cabinet type
Cabjaks has two base corner cabinets and two tall corner cabinets. Decide which type best suits your layout before planning the surrounding run.
Your corner choice determines how fillers, panels, benchtops and toe kicks will be installed, so lock this in first.

Tip: Corners should be planned with the location of appliances and drawer cabinets in mind to ensure the corner remains functional.
-
Corner base cabinet (L-shape)
We offer one size corner base cabinet: 786x786mm. In the planner, you will see that there is also an '886x886mm' option. The physical cabinet is still the same size, however, the larger option is designed to be pulled away from the wall by 100mm on each side to allow for out of square walls and line up with our 585mm deep cabinets on either side.
The planner accounts for this when you add the larger cabinet in and blocks out 100mm behind the cabinet.

Tip: Adding a lazy susan significantly improves usability, these can be added to the corner base cabinets at the 'Review' stage of the planner.
-
Blind corner base cabinet
Blind corner base cabinets run past the corner and are accessed from one side.
These must be set up correctly using fillers to ensure drawers and doors open without clashing. We usually recommend that the cabinet is pulled away from the wall by 35mm and the filler panel cut to 50mm as this gives you a symmetrical, square corner.

Note: If you do not have room for a 50mm filler, 30mm is usually enough clearance to get past one of our handles with drawers.
-
Blind tall corner cabinet
Blind tall cabinets follow the same principle as blind base cabinets but extend full height. These are available in 1 door or 2 door options. They are manufactured with the blind panel separate to ensure the cabinets security during transit, the blind panels can be cut down to suit your space.
A tall filler panel should be used on the return to ensure a functional corner.

Tip:
-
Corner benchtops + breakfast bars
Plan your benchtop joins early. Corner joins should run in the direction that keeps the most visible face clean and continuous.
If a breakfast bar runs after the corner, measure the overhang from the cabinet face not the wall to ensure consistency.

Tip: Keep joins away from sinks where possible, and always support breakfast bar overhangs correctly.
-
Joining toe kicks at corners
Toe kicks need to run cleanly around corners for a professional finish.
We recommend ordering slightly more toe kick than required in one direction and butting one piece against the other before sealing with silicone

Tip: Misaligned toe kicks are one of the first things people notice in a kitchen.
-
Creating a blind corner wall cabinet
We do not have a dedicated blind wall corner cabinet but you can create one using standard wall cabinets.
Install one cabinet into the corner and return the adjacent cabinet into it, using fillers where required.
Tip: Always check door swing and handle clearance before final fixing.
-
Always run a clearance test
Before locking in your design, check that doors, drawers and appliances can open without clashing at the corner.
- Check handle-to-handle clearance
- Open adjacent drawers simultaneously
- Consider appliance doors near returns
Tip: If two things can’t open at the same time, the kitchen will feel frustrating when in use.
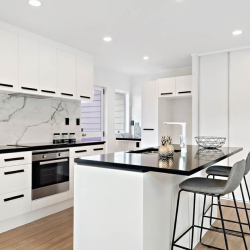
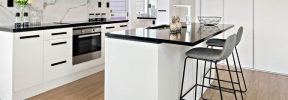
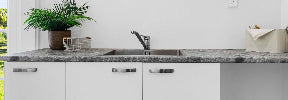
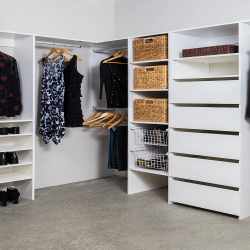
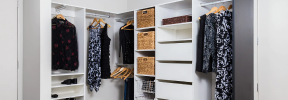
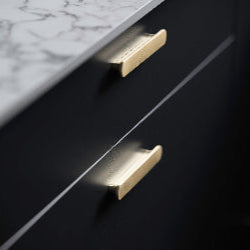
Inspiration Gallery
Corner solutions that look clean, work smoothly, and make the most of space.


