


Custom Panel Tool – Complete Guide
This guide shows you how to order custom panels using the Cabjaks custom panel tool.
You can click on any of the images in this guide to enlarge them.
-
1
Open the custom panel tool
Hover over 'Our Products' in the navigation bar. Then locate the 'Custom Panels' page under 'Panels and Fronts'

-
2
Enter your measurements
Enter the length and width requirements for your panel.
Usually, the 'length' would refer to the height of the front and the 'width' would refer to the measurement from left to right.

Note: Measurements entered should be your finished panel measurements including all edging.
-
3
Select edging
Choose the sides of your custom panel that you would like to have edged by clicking on the 'yes' option beside the required edge.

Tip: The price shown at the bottom of the page will update as you change or select options in the tool.
-
4
Choose your colour
Select your required colour from the options displayed.
Woodgrain panels will have the grain running vertically, parallel to the length of the panel. If the width of the panel is more than 1200mm, the grain will run horizontally, parallel to the width of the panel.

-
5
Select hinge holes
If your custom panel is going to be a door, you can add hinge holes at this stage. Just click on the drop down and select from the options displayed.
The top and bottom hinge holes are always positioned 100mm from the edge to the centre of the 35mm hinge pot and any other hinge holes are positioned evenly from the centre point.

-
6
Review options and add to cart
Once you have selected all of the options required, you will see the final price displayed at the bottom of the page.
You can click on the 'add to cart' button and proceed with the checkout to order your custom panel.

Inspiration Gallery
Have a look through this selection of images from our customers for inspiration.

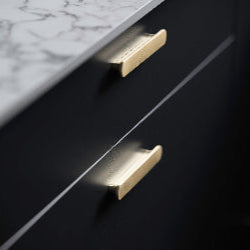
Baroque custom cabinet doors

French Oak custom bar back panels

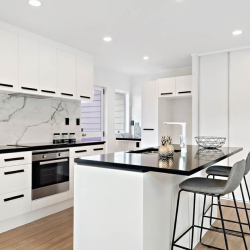
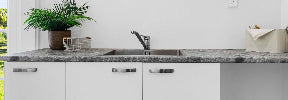
Small white kitchen

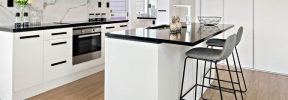
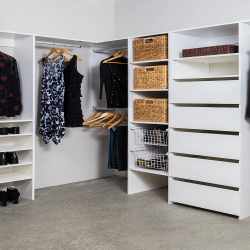
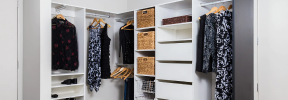
White panels

White panels

Frost Grey custom bar back panel