


Benchtop Planner – Complete Guide
This guide shows you how to design your benchtop using the Cabjaks Planner, including setting your shape, measurements, finishes, and colour. By the end, you’ll have a complete plan ready to save and order.
You can click on any of the images in this guide to enlarge them.
-
1
Create a new plan
Open the benchtop planner to begin a new benchtop plan.
Select the shape of your benchtop from the options displayed.

Tip: You can see the stage you are at in the planner by viewing the progress bar on the right-hand side of the page.
-
2
Choose your benchtop type
Select whether your benchtop will be a standard benchtop or a breakfast bar.
- Breakfast bar: bullnose front + back, depths: 650mm or 900mm
- Standard: bullnose front only, depth: 200–890mm

-
3
Enter your measurements
Enter the required length and depth for each section of your benchtop.
Ensure these measurements are the full wall/length and not per piece. Our system will calculate cuts and joins needed for L-shape and U-shape tops and split these into separate pieces once added to cart.

Tip: Not sure about your benchtop measurements? Contact our team and we can help calculate the correct sizes based on your cabinetry plan.
-
4
Select finished ends
Choose which ends will be finished and which will be unfinished.
As a rule of thumb, any exposed or visible ends should be finished.

Note: If your benchtop butts up to a tall end panel/cabinet, edge that side if the top is deeper than the cabinets (e.g. 585mm cabinet often needs 600mm top). If it’s not edged, part of the benchtop may be unfinished and visible.
-
5
Choose your join direction
If your top is an L-shape or U-shape, you’ll be prompted to select a join configuration.
We recommend positioning joins away from water and heat sources where possible. Joins cannot be machined through breakfast bar top pieces.

Note: The price for your top will show above the progress bar and will update as you make changes.
-
6
Choose your colour
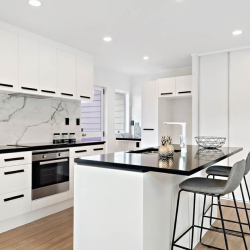
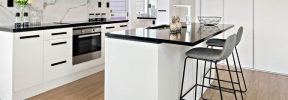
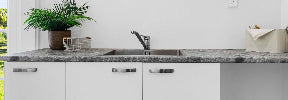
At step 6, you can choose from our collection of laminate colours. Refer to our gallery for more images of the benchtops installed in kitchens.

-
7
Save plan and add to cart
Once details are correct, click Save. You’ll be prompted to log in or create an account if you’re not already logged in.
Name your plan, then click Add to cart.

Note: L-shape and U-shape benchtops will split into multiple benchtop pieces plus joins/finishes when added to cart. Don’t delete or change quantities of these generated components or your order may not come through correctly.
Some of the piece measurements might be +/- 20mm to account for the join cutouts, but the final measurement once benchtop is joined will be what was entered in the planner.
Inspiration Gallery
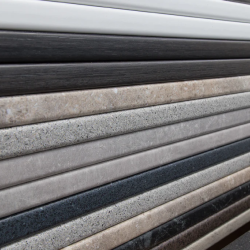
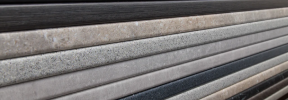
Have a look through this selection of some of our most popular colour options.

Colour inspiration

Riverstone Benchtop

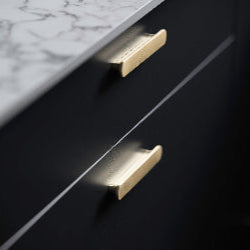
Dark Concrete Benchtop

Sonora White Benchtop

Slate Benchtop

Moonstone Benchtop